When you're preparing to submit PDF files to press, it is important to output using the correct settings. To assist with this, here are instructions on how to set up and use an output profile in InDesign.
1. Download the Preset
Download our output profile. Save it in a place where it will be easily found.

2. Open PDF Presets
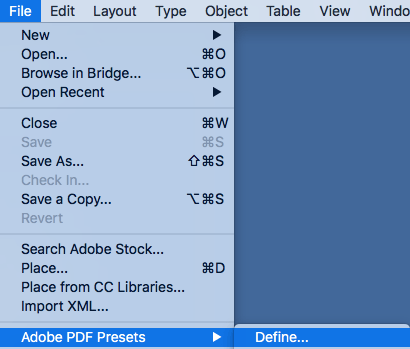
In the File menu, select the Adobe PDF Presets submenu, then select Define…
3. Load the Presets File
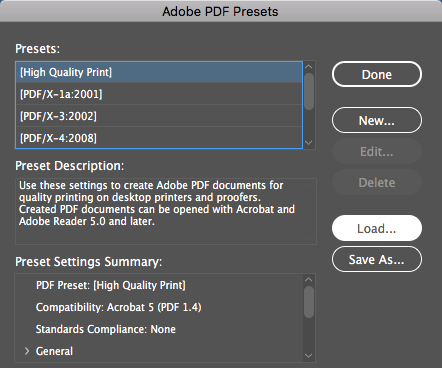
On right side of the window that appears, click Load…
Select the presets file you downloaded and click Open, then click Done.


4. Output to PDF
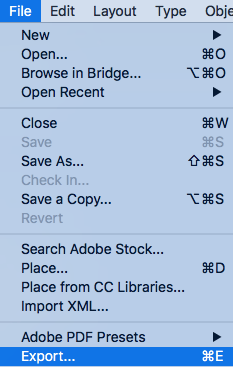
When you're ready to output, Export to PDF using the Adobe PDF (Print) profile.

5. Select the Crown Preset
On the top of the Export Adobe PDF window that appears next, select the Crown preset you loaded. Use this to output all print files before you submit them for printing. For detailed instructions on how to check your PDF files, see our Artwork Specs.

